
I got a request for a step by step tutorial on how to make dinner rolls when I had posted pictures of my "piggyrolls", so here it is! :3 Hope you guys like it! :P
Like I mentioned in my previous post, this is the yeast roll recipe that I use. It is my family's favorite (from Val)!
What you will need:
How to make yeast rolls/dinner rolls:
1.) Combine shortening, sugar, and salt in a large bowl
2.) Stir in boiling water (1-1/2 cups)

3.) Crisco butter-flavored shortening, sugar, and salt SOUP! :P
4.) Take 2 tablespoons of yeast,
5.) and 1/2 cup of warm water (110°F - 115°F)
 6.) Dissolve yeast into warm water.
7.) Take yeast mixture,
8.) 3 eggs,
9.) and 3 cups of flour


10.) and add it to the Shortening mixture (#3)
11). Beat (mix) until smooth.

12.) Stir in enough remaining flour,
13.) to form a soft dough.

14.) Turn onto floured surface and kneed until smooth and elastic for about 6-8 minutes.
15.) Place in a greased bowl, turning once to grease top.

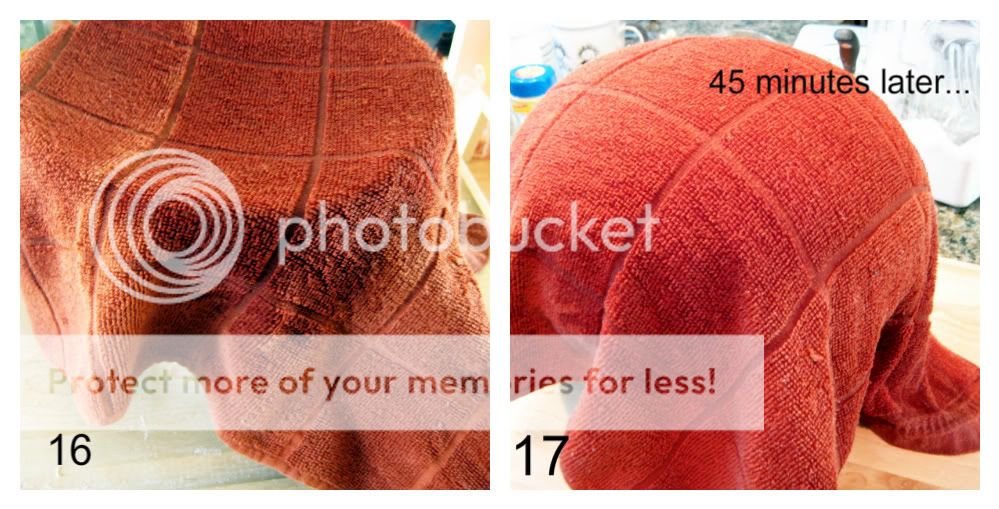
16.) Cover and let dry in warm place (I wet the towel with hot water),
17.) Dough should double in size in 45 minutes.

18.) *O*
19.) Punch dough down, turn onto lightly floured surface.

20.) Roll dough to 1/2" (inch) thickness.
21.) Cut (I'm using a pizza cutter :P) into equal sizes. For plain dinner rolls, you can fold circles in half and press edges to seal.

22.) Coat baking sheets/tray with cooking spray.
23.) Place your dough (bears) 2 inches apart.

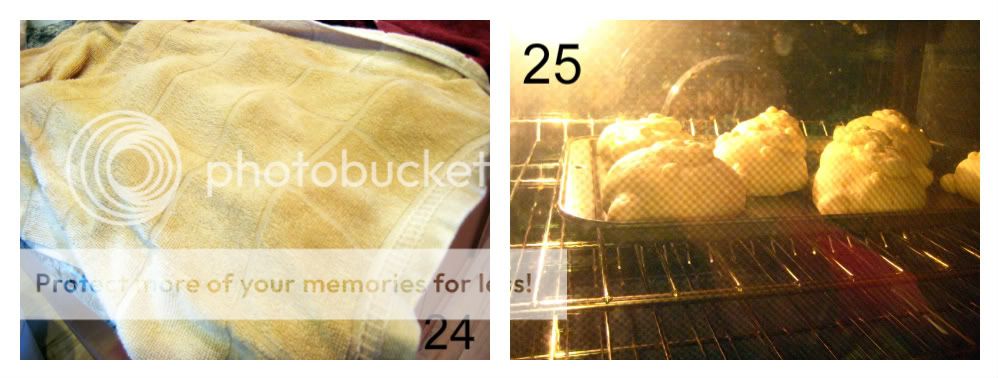
24.) Cover and let rise until doubled (30 minutes).
25.) Bake at 400°F for 10-12 minutes or until golden brown.
 26.) Brush with butter (I just rubbed a butter stick on them :P)
27.) Delicious!


These freeze very well after baking so I usually like to make a big batch and fill the freezer up with a whole bunch of these cute dinner rolls. Just pull them out of the freezer to thaw whenever you are ready to eat some!!! :3
Since Halloween is coming up, maybe you can try making them into spookier shapes. :P
Like I mentioned in my previous post, this is the yeast roll recipe that I use. It is my family's favorite (from Val)!
What you will need:
- 1/2 cup shortening
- 1/4 cup sugar
- 2 teaspoons salt
- 1-1/2 cups boiling water
- 2 tablespoons active dry yeast
- 1/2 cup warm water (110° to 115°)
- 3 eggs
- 6-3/4 to 7-1/4 cups all-purpose flour
- 1/4 cup butter, melted
How to make yeast rolls/dinner rolls:
1.) Combine shortening, sugar, and salt in a large bowl
2.) Stir in boiling water (1-1/2 cups)

3.) Crisco butter-flavored shortening, sugar, and salt SOUP! :P
 |
| Make sure to cool this mixture ("soup") down to 110°F to 115°F |
5.) and 1/2 cup of warm water (110°F - 115°F)

7.) Take yeast mixture,
8.) 3 eggs,
9.) and 3 cups of flour
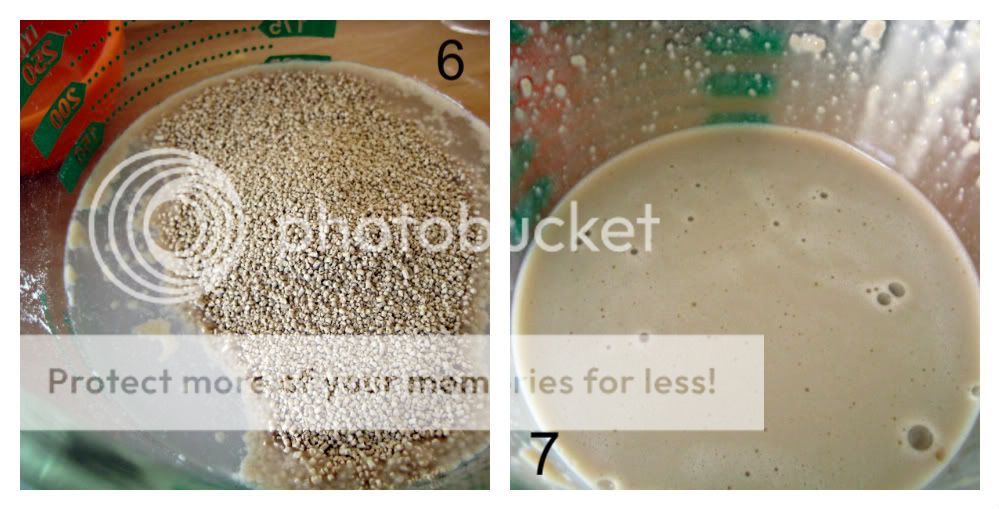

10.) and add it to the Shortening mixture (#3)
11). Beat (mix) until smooth.
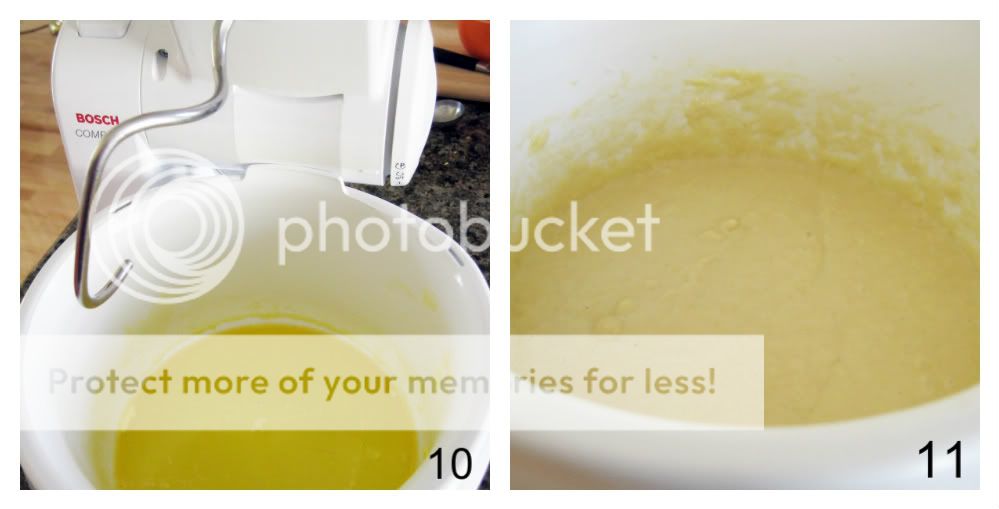
12.) Stir in enough remaining flour,
13.) to form a soft dough.

14.) Turn onto floured surface and kneed until smooth and elastic for about 6-8 minutes.
15.) Place in a greased bowl, turning once to grease top.

16.) Cover and let dry in warm place (I wet the towel with hot water),
17.) Dough should double in size in 45 minutes.
18.) *O*
19.) Punch dough down, turn onto lightly floured surface.

20.) Roll dough to 1/2" (inch) thickness.
21.) Cut (I'm using a pizza cutter :P) into equal sizes. For plain dinner rolls, you can fold circles in half and press edges to seal.

22.) Coat baking sheets/tray with cooking spray.
23.) Place your dough (bears) 2 inches apart.

24.) Cover and let rise until doubled (30 minutes).
25.) Bake at 400°F for 10-12 minutes or until golden brown.
27.) Delicious!

"YOU'RE SO CUTE, I COULD EAT YOU UP!"

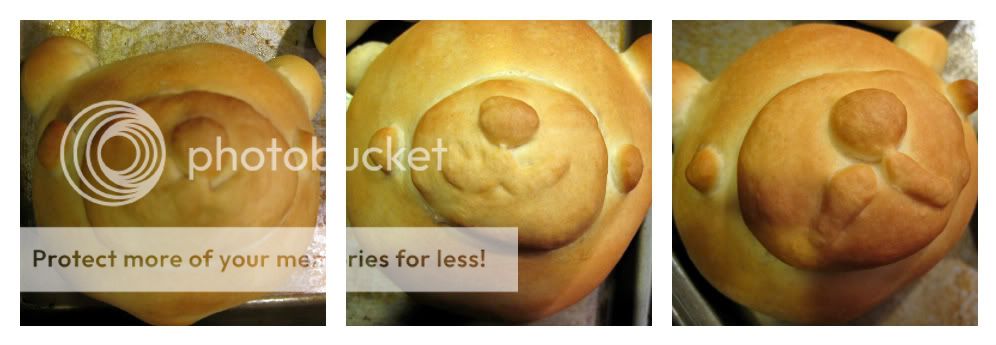
These freeze very well after baking so I usually like to make a big batch and fill the freezer up with a whole bunch of these cute dinner rolls. Just pull them out of the freezer to thaw whenever you are ready to eat some!!! :3
Since Halloween is coming up, maybe you can try making them into spookier shapes. :P


