
Showing posts with label Nails. Show all posts
Showing posts with label Nails. Show all posts
Wednesday, April 4, 2012


Sunday, October 30, 2011
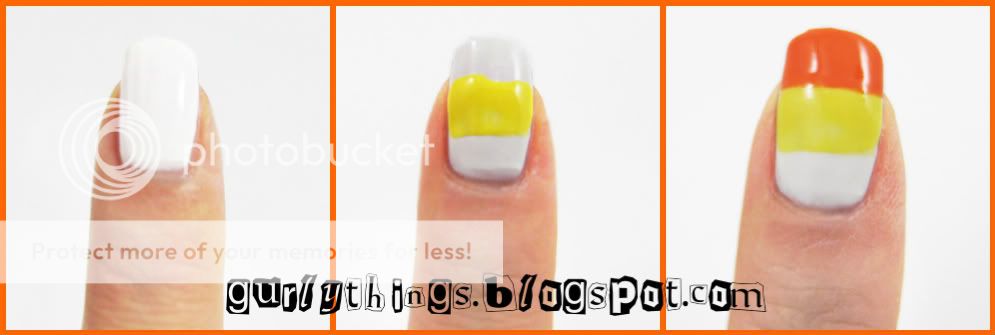
Halloween Theme Candy Corn Nail Art
The month of October is always fun!
I love seeing such fun and spooky Halloween decorations whenever I'm out and about. People can be so creative when it comes to decorating!
This month has been quite hectic for me but I still wanted to get into the spirit of joining in on the fun so I painted my nails to suit the Halloween theme: Candy Corn nail art!


Older nail art designs I've done in the past that might be appropriate for Halloween:
Skull Nail Art (Tutorial HERE):


Pumpkin nail art (post HERE):

I know I'm a little early but...
I love seeing such fun and spooky Halloween decorations whenever I'm out and about. People can be so creative when it comes to decorating!
This month has been quite hectic for me but I still wanted to get into the spirit of joining in on the fun so I painted my nails to suit the Halloween theme: Candy Corn nail art!

Older nail art designs I've done in the past that might be appropriate for Halloween:
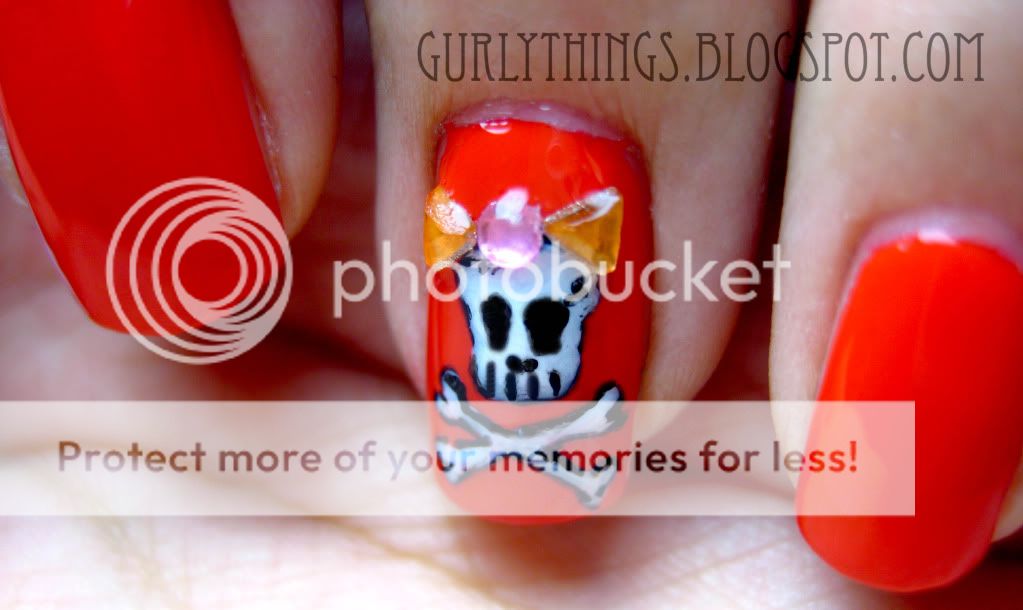
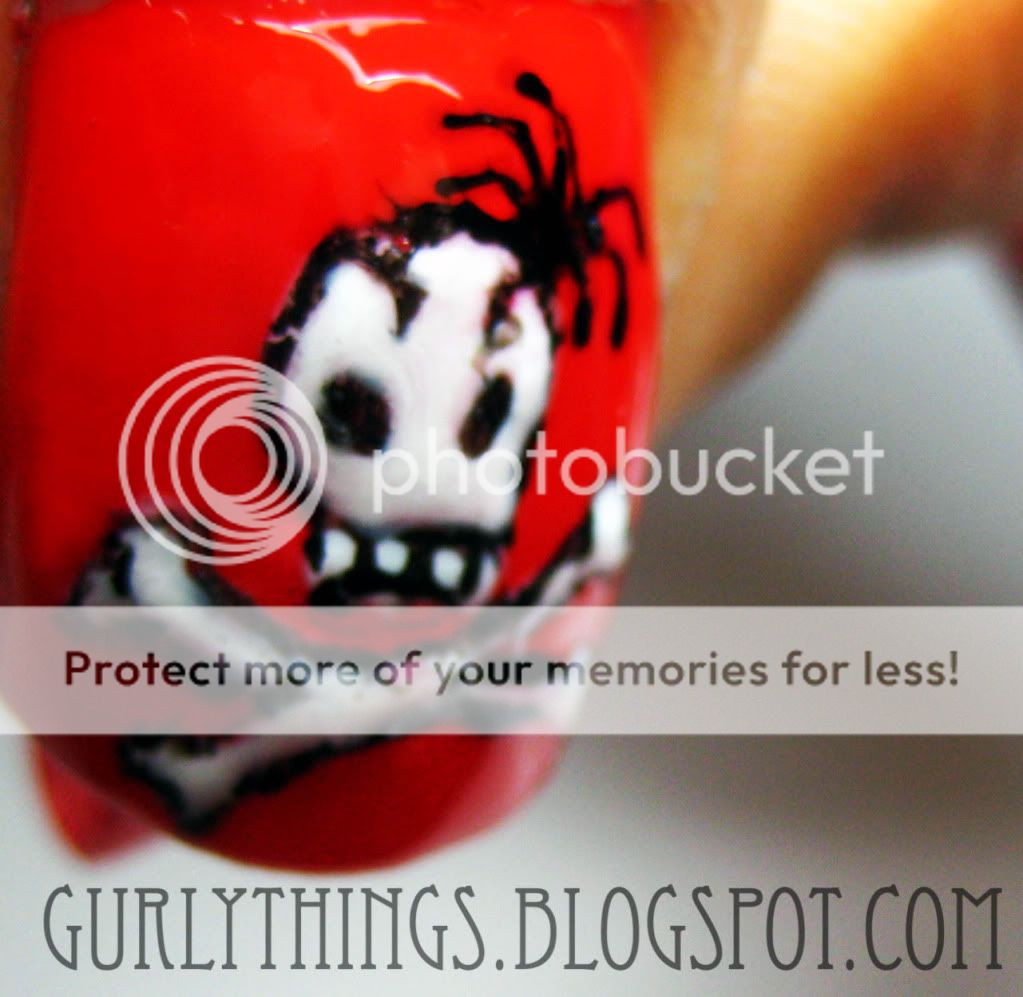
Skull Nail Art (Tutorial HERE):
Pumpkin nail art (post HERE):

I know I'm a little early but...
HAPPY HALLOWEEN (for those who celebrate)!
Sunday, August 21, 2011
"Passionate" and "Shy" Describe My Nails Today
I was curious so I got one of those color changing nail polish from the "Mood Swing" collection by icing.
I liked how "mood" nail polishes made some of you guy's nails create a gradient effect.
But then again, my fingers are feeling a bit cold at the moment. O_o
This polish's finish is matte (something I did not expect); Not that it bothers me but I decided to brush a couple of layers of top coat (same one I used in here) over it anyway.
Maybe I will experiment with this later. :p
You own any of these polishes? Which colors? :p Do they work for you?
 |
| I got the Mood Swing nail polish in the color: Passionate/Shy |
 |
| Hmm... I don't really notice a change in color... yet. Did I do it wrong? |
I liked how "mood" nail polishes made some of you guy's nails create a gradient effect.
But then again, my fingers are feeling a bit cold at the moment. O_o
This polish's finish is matte (something I did not expect); Not that it bothers me but I decided to brush a couple of layers of top coat (same one I used in here) over it anyway.
Maybe I will experiment with this later. :p
You own any of these polishes? Which colors? :p Do they work for you?
Wednesday, March 2, 2011
NOTD: Boogie Nights
I got new nail polish. :)
 |
| I applied two coats of the polish on my nail tips (and added white dots). |
 |
| Color: "Boogie Nights" by Sinful Colors Professional Nail Polish. |
Sunday, February 13, 2011
Valentine's Nails using my $0.67 Nail Polish
Here is my simple nail art design I have on my nails at the moment; ready for valentine's day! :)

I got the Wet n Wild nail color at Target's clearance sale for 67 cents! O_o
 I wanted to have a more subtle look on my nails so I erased it all off and painted my tips instead:
1. I started off by applying my base coat.
2. I prepared some nail guide stickers:
3. Slap some nail polish of your choice (in my case, its red) on there:

4. Rip off your DIY nail sticker guide off slowly and carefully while it is still wet.

5. Add heart design:
Hope you all have a wonderful Valentine's Day!!! :)

I got the Wet n Wild nail color at Target's clearance sale for 67 cents! O_o
 |
| (Wild Shine) in "Burgundy Frost" |

1. I started off by applying my base coat.
 |
I used "Base Coat Top Coat PRO" by Rimmel (I love how it is able to be used as both). (I love how it is able to be used as both). |
 |
| So fancy. I like the little crown design on the polish cap. |
 |
| Nice wide brush helps me coat my whole nail in one swipe! |
 |
| I used some masking tape to help me with painting my nail tips. |
 |
| Makes my life easier. |
3. Slap some nail polish of your choice (in my case, its red) on there:
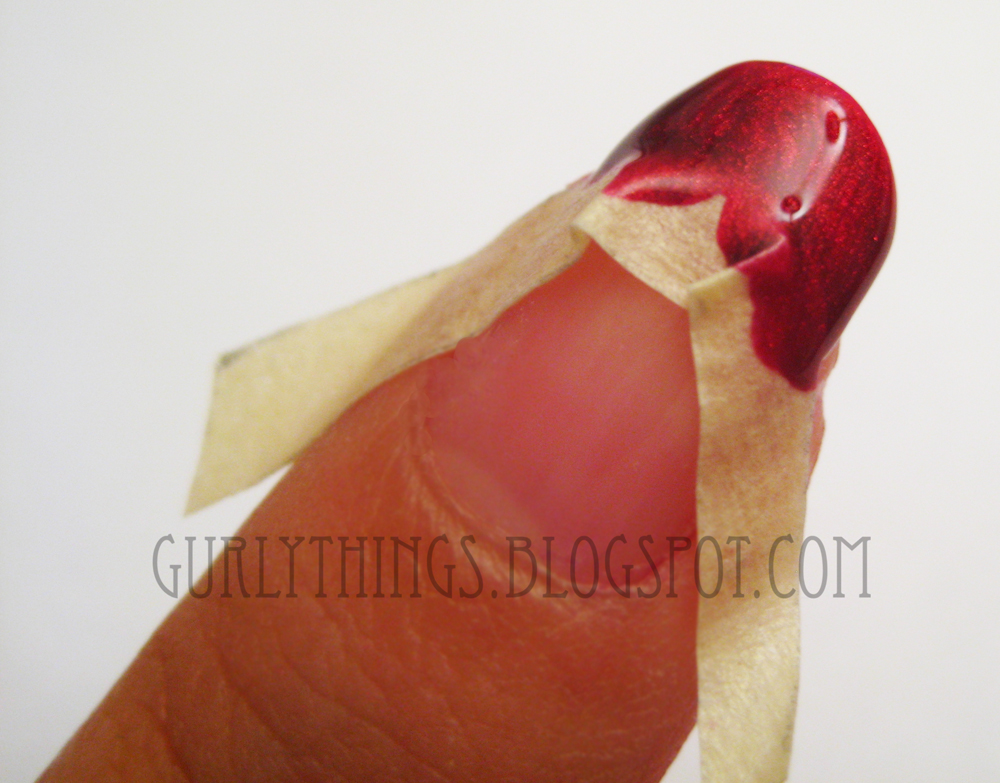
4. Rip off your DIY nail sticker guide off slowly and carefully while it is still wet.
 |
| One done, 9 more to go! |

5. Add heart design:
 |
| Start by adding two dots. |
 |
| Then drag it down one dot at a time. |
 |
| And you have a heart! :) |
 |
| Seal with Top Coat (I used the same Rimmel one again) and you're done! :) |
Also, if you haven't yet, you can still enter for a chance to win a $25 Apothica Giftcard! :)
Giveaway ends on Feb. 14th.Saturday, October 23, 2010
Nail Art: Pumpkins
I was watching Iris's video on "Making over your chipped nails"
I thought that was pretty creative, haha :P
So I guess this is my version of what I would do with MY chipped nail polish :P
Haha! The one on my index looks pretty messed up! Got a slice on his forehead and everything! :P
What? This is not the result of laziness... this is called "art". :P
I thought that was pretty creative, haha :P
So I guess this is my version of what I would do with MY chipped nail polish :P
Haha! The one on my index looks pretty messed up! Got a slice on his forehead and everything! :P
Monday, October 4, 2010
Skull Nail Art
Since its the beginning of October, I thought I'd try out some Halloween-themed nail art.
I hope you liked my silly skull nail art design! :P
Do you have some fun Halloween nail art designs? Please share! :P
Disclaimer:
I am not affiliated with the companies.
I am not compensated in any way to publish/write this post.
I bought these products.
|
| Skull nail art on red nail polish. |
 |
| I started off with painting my nails with a base coat. |

 |
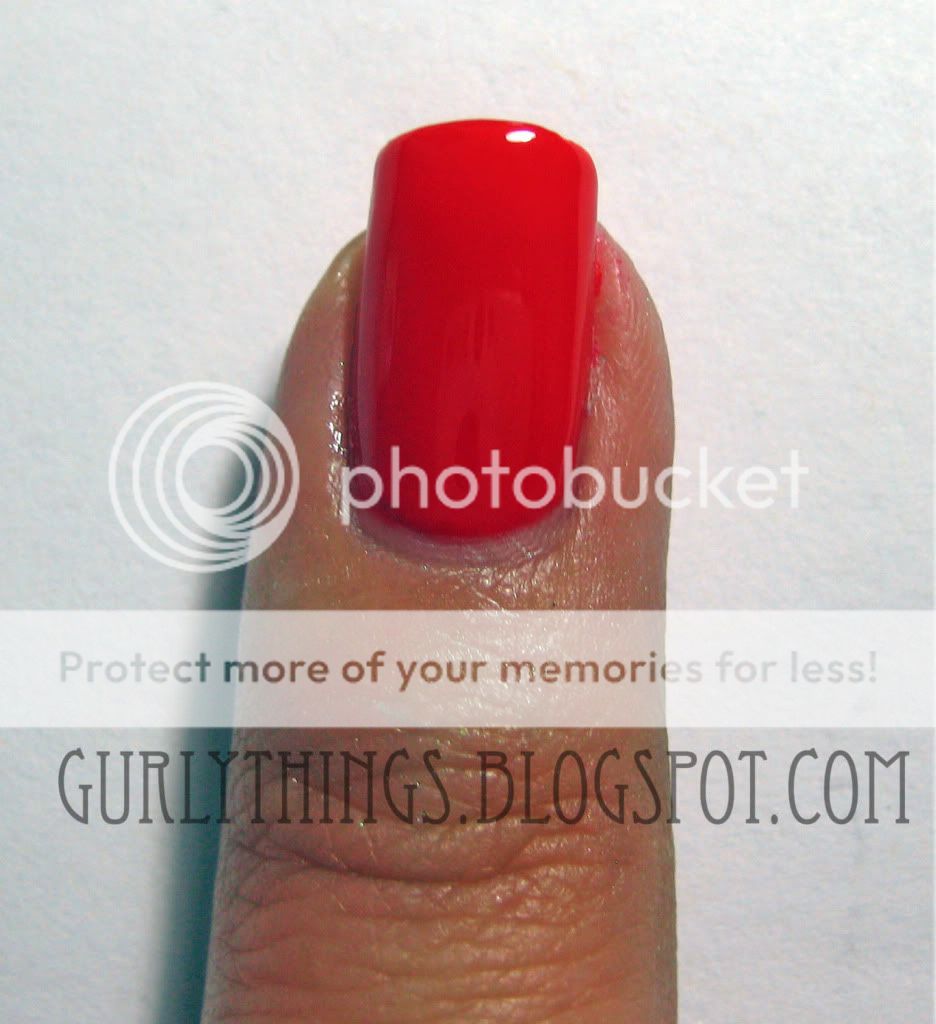
| I used O.P.I nailpolish called "Monsooner or Later" |

 |
| 2 coats of "Monsooner or Later" nail polish |
 | |
| I used nail art pen in "Black" by Sally Hansen |

 |
| I used the nail art pen to roughly outline and sketch my skull design. |

 |
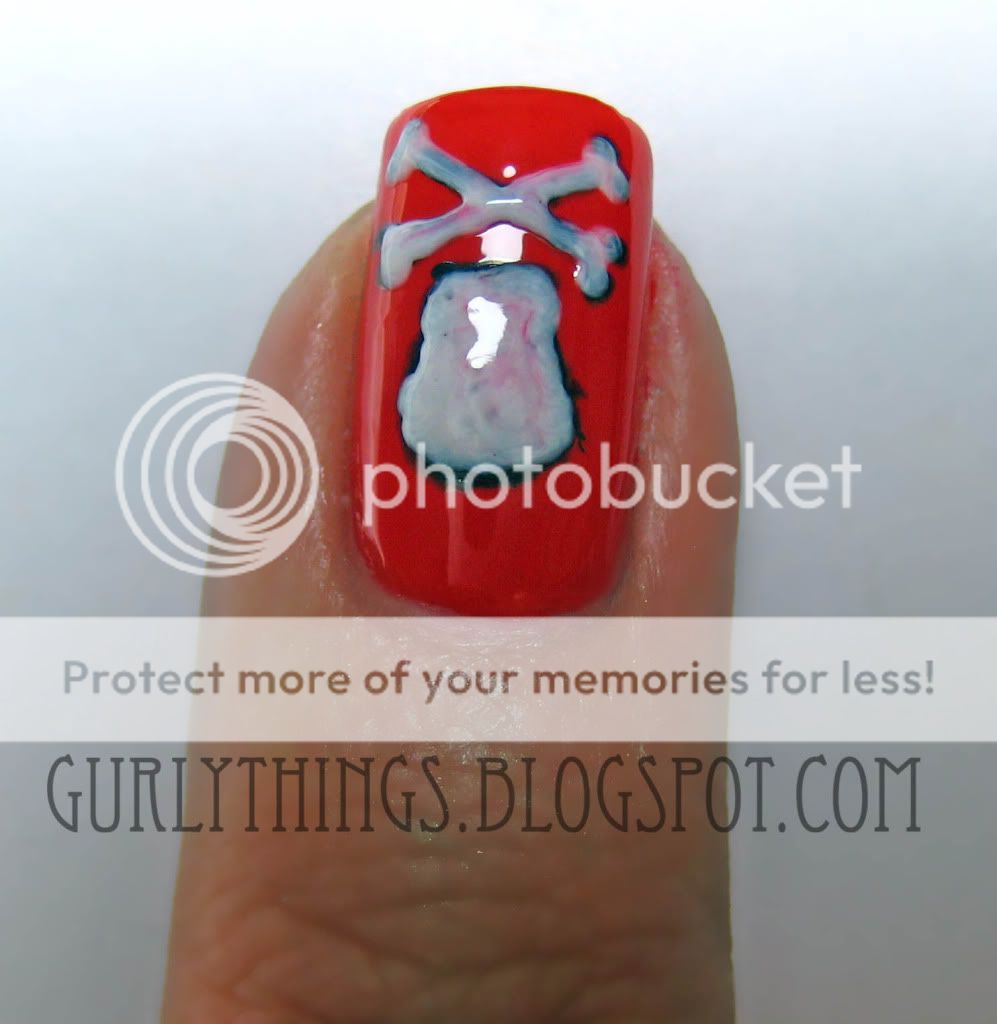
| Nail art pen in "white" by Fing'rs |

 |
| Filled outline of skull using my "white" polish from the Fing'rs nail art pen. |
 |
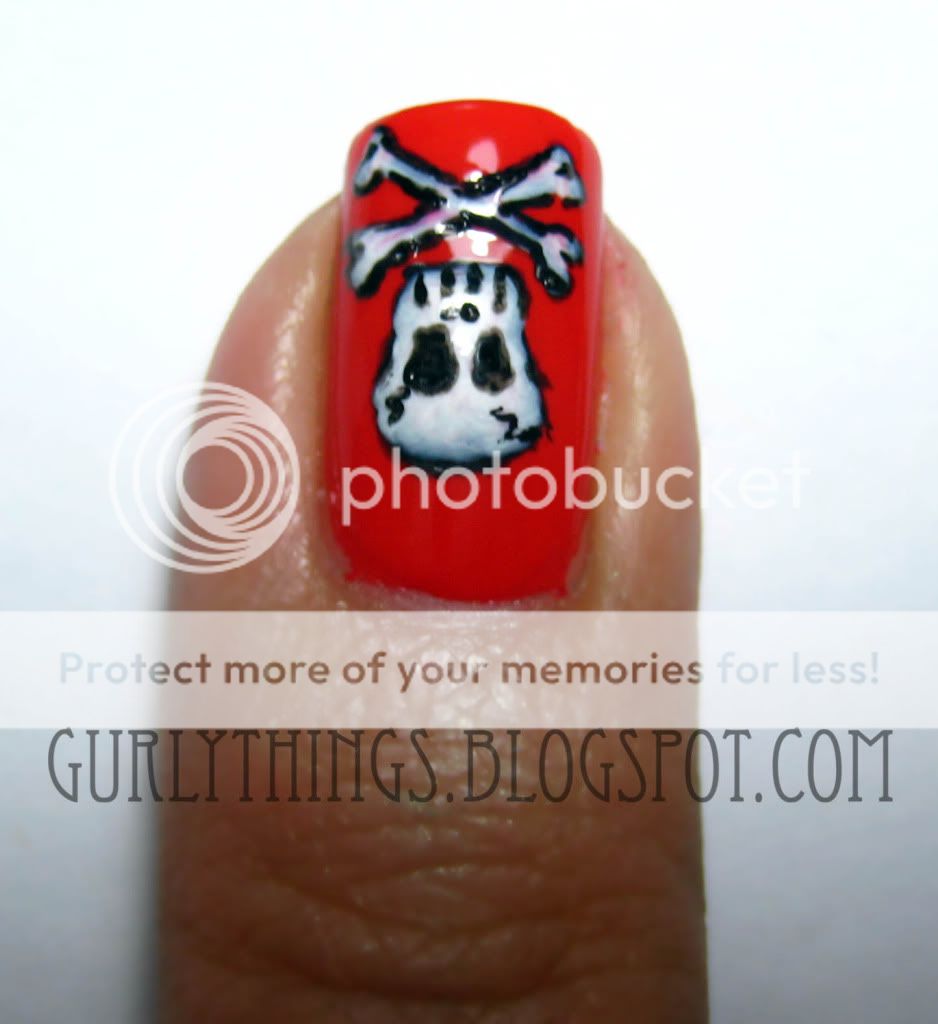
| Add details using black polish. I used a toothpick to grab some of the black color from the Sally Hansen nail art pen since it allows me to be more precise compared to using the nail art pen by itself. I'm not too fond of the black nail art pen because it sometimes makes a big mess when I'm trying to dispense the color. |
 |
| And I ruined the whole design by adding rhinestones in the shape of a 'bow'... HAHAHA! |

|
| Here's one with a spider on its head :P |
Do you have some fun Halloween nail art designs? Please share! :P
Disclaimer:
I am not affiliated with the companies.
I am not compensated in any way to publish/write this post.
I bought these products.
Tuesday, August 10, 2010
DIY Nail Art Stickers Tutorial
Hi guys :3
Since my face is swollen, I decided to make a nail post. :)
I was watching 3TanjaJ3's youtube channel and wanted to try out the "nail art stickers" you can make yourself ;)
Supplies you will need:
- Plastic sheet (can be cellophane-type plastic)
- Nail Polish
- Toothpick, brush, etc (anything you are going to use to draw/paint your desired design)
- Clear varnish/top coat
Here, I just had a small random plastic sheet I got from some packaging...
 I also thought it might a good idea to trace the hello kitty and badz-maru designs onto the plastic sheet since its transparent ;)
Take your colored nail polishes and start tracing, filling in, painting, or drawing any design you would like to stick onto your nails with a toothpick (or any other tool of your choice)...
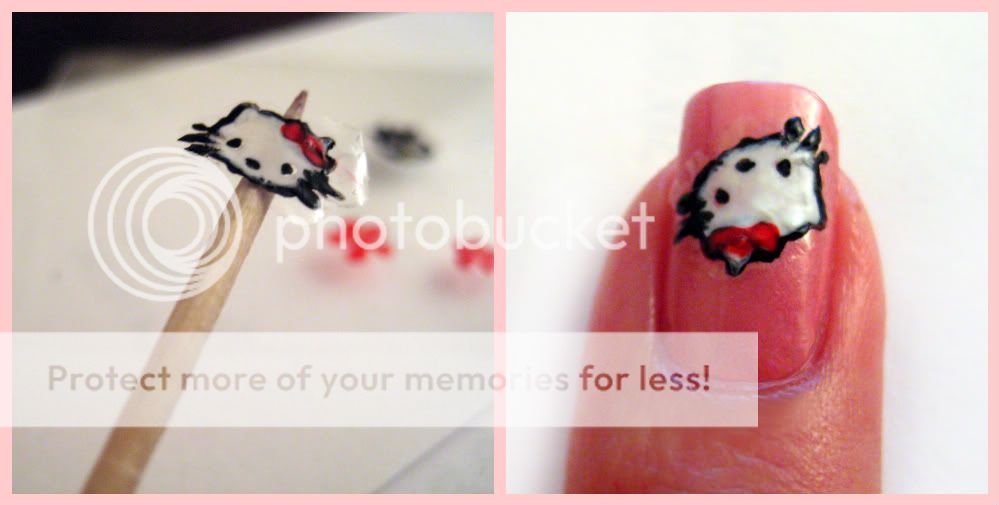
Here's my poor attempt (and first attempt!!!) to try the hello kitty design...
I'm sure you get the point though...

Here's how mine turned out so far HAHAHHAHAHA!!!!! I think it was hard because the design was really tiny and my toothpick was a bit too thick.. maybe I'll use another tool to do this next time. Hopefully the next one I do will turn out much better...

After you've painted your design on the plastic sheet using your nail polish, carefully brush a layer of clear varnish on your design...
Here's my varnish on my badz-maru design :P
 I also went ahead and made some simple flower shapes just to try out...

Wait for your designs to dry completely... peel it off the plastic sheet and place on your nail:


 Flatten your "nail sticker" on your nails and seal with top coat/ clear nail varnish! :)
Base nail color: I'm wearing "Mauve It" by Sally Hansen Insta-Dri Fast Dry Nail Color.
Since my face is swollen, I decided to make a nail post. :)
I was watching 3TanjaJ3's youtube channel and wanted to try out the "nail art stickers" you can make yourself ;)
Supplies you will need:
- Plastic sheet (can be cellophane-type plastic)
- Nail Polish
- Toothpick, brush, etc (anything you are going to use to draw/paint your desired design)
- Clear varnish/top coat
Here, I just had a small random plastic sheet I got from some packaging...

Take your colored nail polishes and start tracing, filling in, painting, or drawing any design you would like to stick onto your nails with a toothpick (or any other tool of your choice)...
Here's my poor attempt (and first attempt!!!) to try the hello kitty design...
I'm sure you get the point though...

Here's how mine turned out so far HAHAHHAHAHA!!!!! I think it was hard because the design was really tiny and my toothpick was a bit too thick.. maybe I'll use another tool to do this next time. Hopefully the next one I do will turn out much better...

After you've painted your design on the plastic sheet using your nail polish, carefully brush a layer of clear varnish on your design...
Here's my varnish on my badz-maru design :P

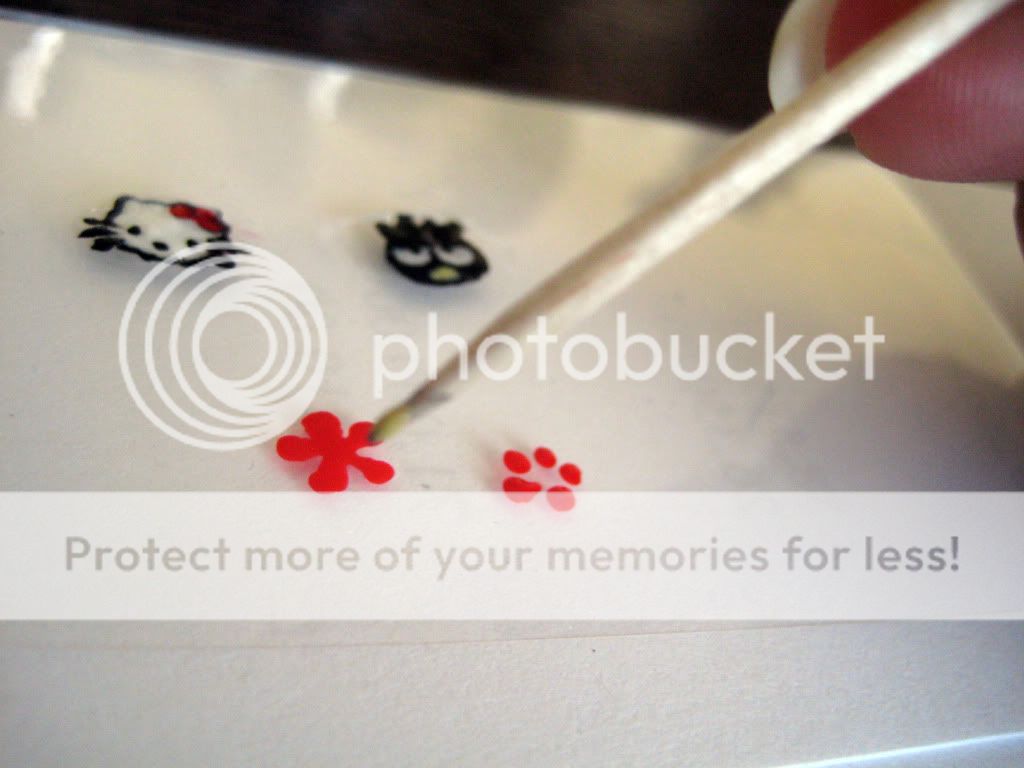
Wait for your designs to dry completely... peel it off the plastic sheet and place on your nail:

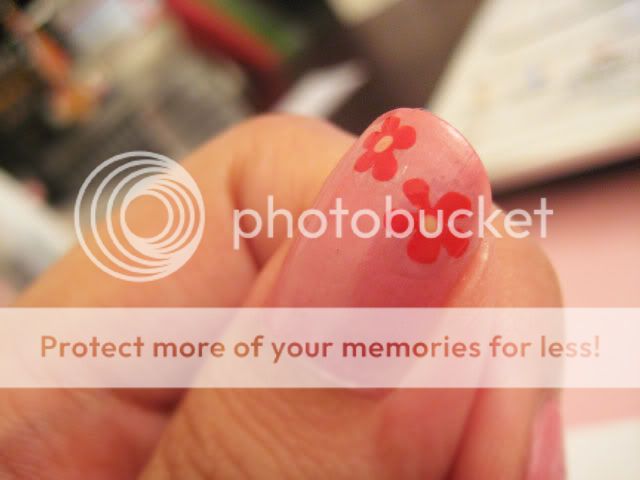
Base nail color: I'm wearing "Mauve It" by Sally Hansen Insta-Dri Fast Dry Nail Color.
Subscribe to:
Posts (Atom)