Blogger Buddies

Showing posts with label Tutorials. Show all posts

Monday, October 31, 2011

Last Minute Halloween "Costume": Kitty Cat Ears Tutorial

My mom is not the type to dress in costumes but she needed one so I thought she'd make a great "kitty"! :P

Here is quick picture tutorial on how to make cat/kitty ears (easy last minute costume idea):

1. Cut two rounded triangles (I chose dark brown colored felt):

2. Cut out two smaller triangles of a different color (I chose pink)- this will represent the inner part of the ear;
Sew or glue the two pieces together:
3. Fold the triangles so that it has a bit of a shape to it and glue/sew in place:
4. Attach your "ears"  to a Pin/clip or headband:


YOU'RE DONE! :3
Enjoy your kitties ears!!!

Cat ears pinned:

Cat ears on headband:


Sunday, October 30, 2011

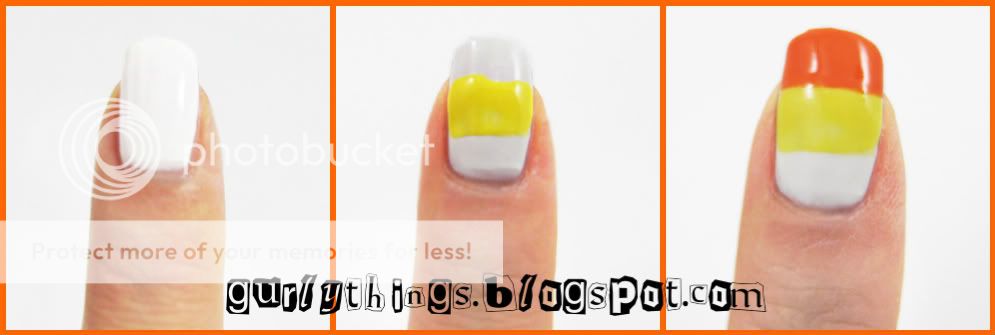
Halloween Theme Candy Corn Nail Art

The month of October is always fun!
I love seeing such fun and spooky Halloween decorations whenever I'm out and about. People can be so creative when it comes to decorating!

This month has been quite hectic for me but I still wanted to get into the spirit of joining in on the fun so I painted my nails to suit the Halloween theme: Candy Corn nail art!


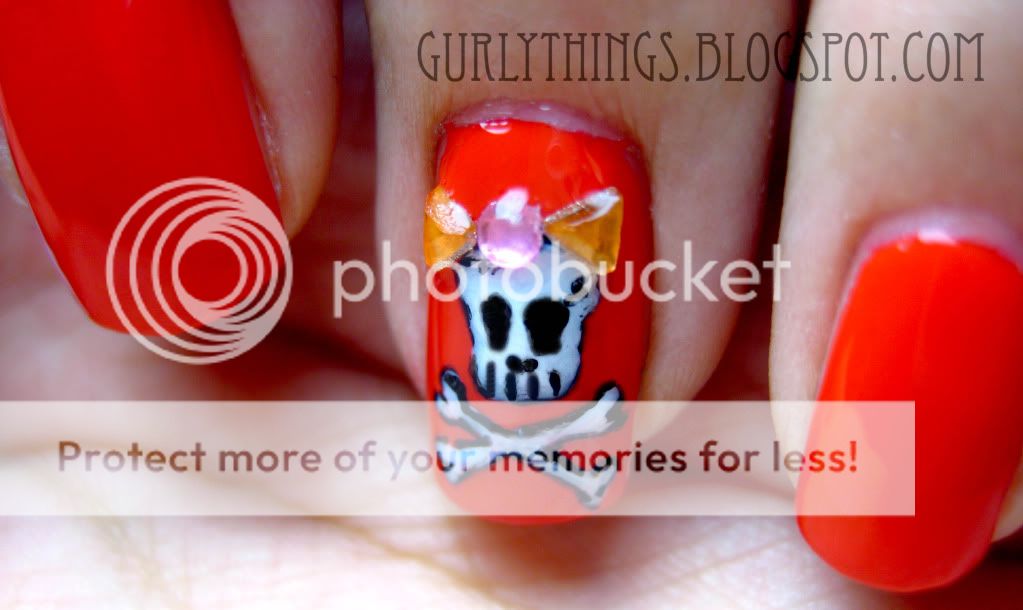
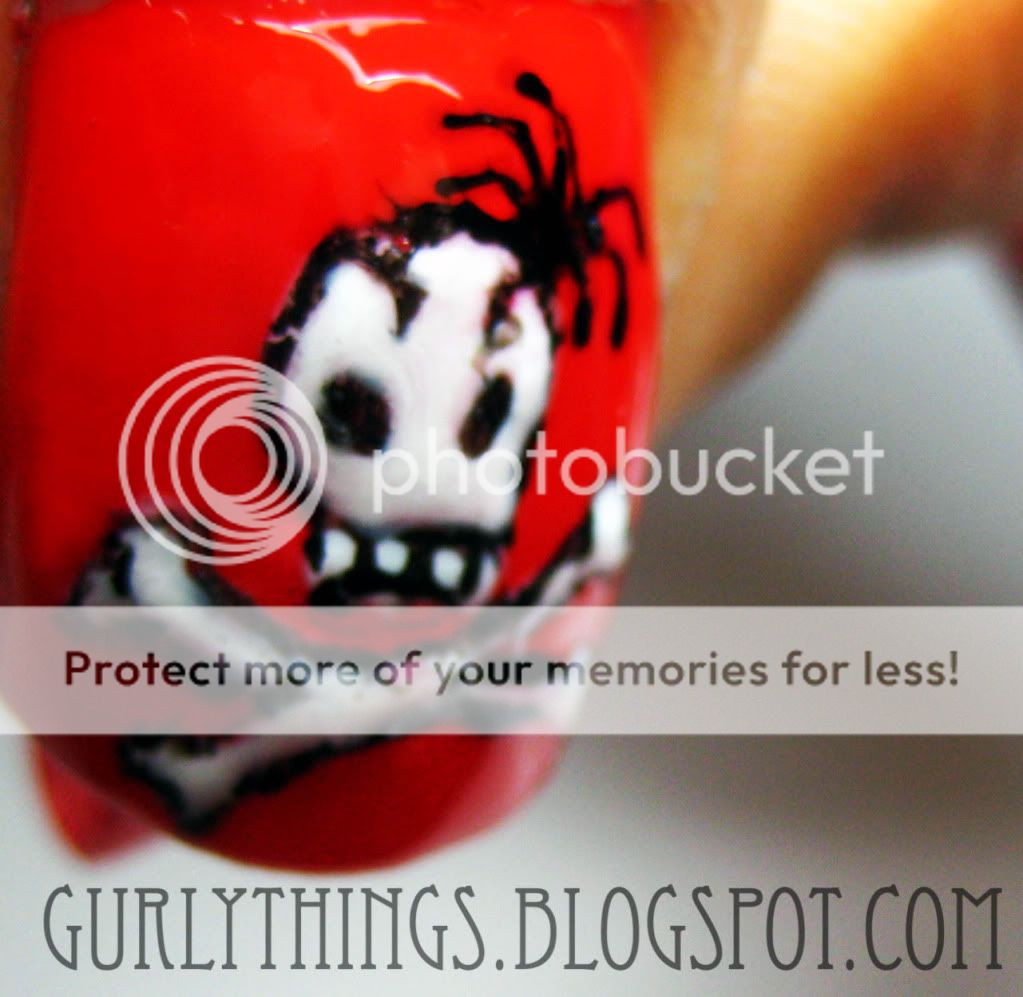
Older nail art designs I've done in the past that might be appropriate for Halloween:

Skull Nail Art (Tutorial HERE):


Pumpkin nail art (post HERE):


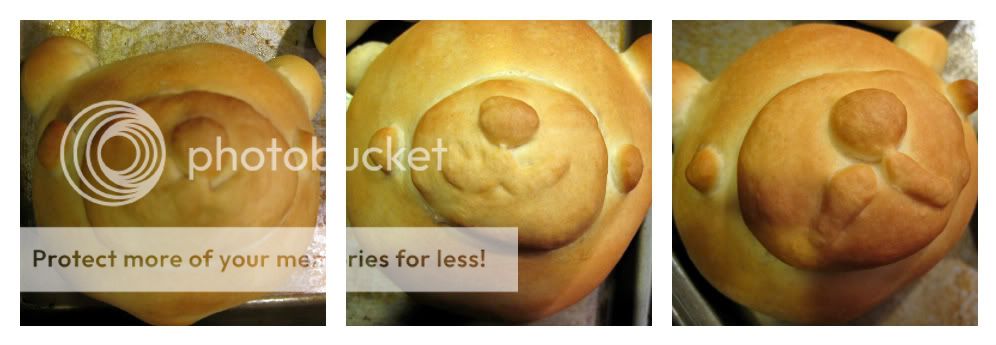
I know I'm a little early but...

HAPPY HALLOWEEN (for those who celebrate)!

Thursday, October 20, 2011

How to Make Dinner Rolls (with Pictures)

I got a request for a step by step tutorial on how to make dinner rolls when I had posted pictures of my "piggyrolls", so here it is! :3 Hope you guys like it! :P

Like I mentioned in my previous post, this is the yeast roll recipe that I use. It is my family's favorite (from Val)!


What you will need:

  • 1/2 cup shortening
  • 1/4 cup sugar
  • 2 teaspoons salt
  • 1-1/2 cups boiling water
  • 2 tablespoons active dry yeast
  • 1/2 cup warm water (110° to 115°)
  • 3 eggs
  • 6-3/4 to 7-1/4 cups all-purpose flour
  • 1/4 cup butter, melted


How to make yeast rolls/dinner rolls:
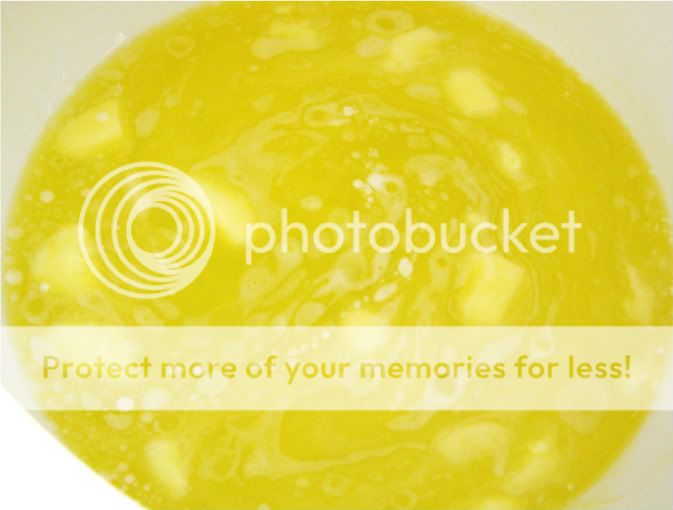
1.) Combine shortening, sugar, and salt in a large bowl
2.) Stir in boiling water (1-1/2 cups)

3.) Crisco butter-flavored shortening, sugar, and salt SOUP! :P
Make sure to cool this mixture ("soup") down to 110°F to 115°F
4.) Take 2 tablespoons of yeast,
5.) and 1/2 cup of warm water (110°F - 115°F)
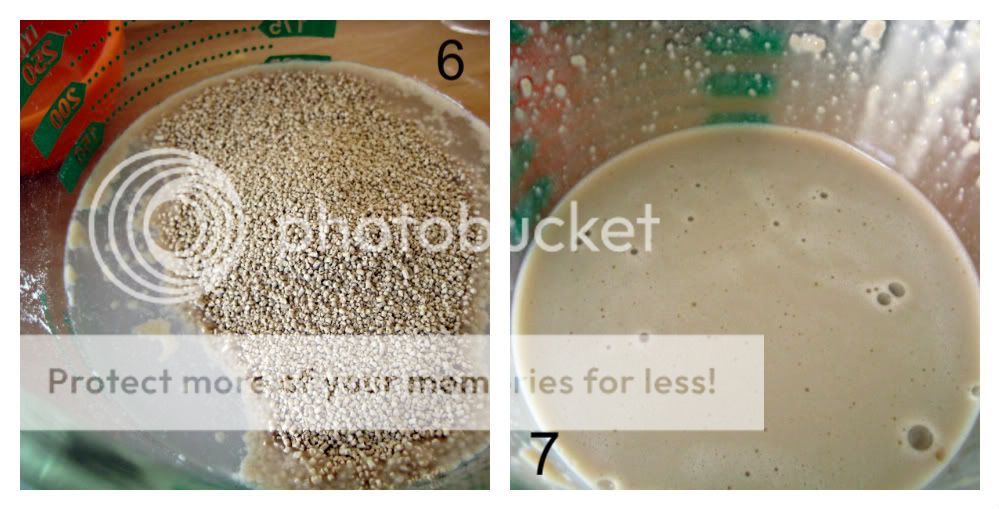
6.) Dissolve yeast into warm water.
7.) Take yeast mixture,
8.) 3 eggs,
9.) and 3 cups of flour


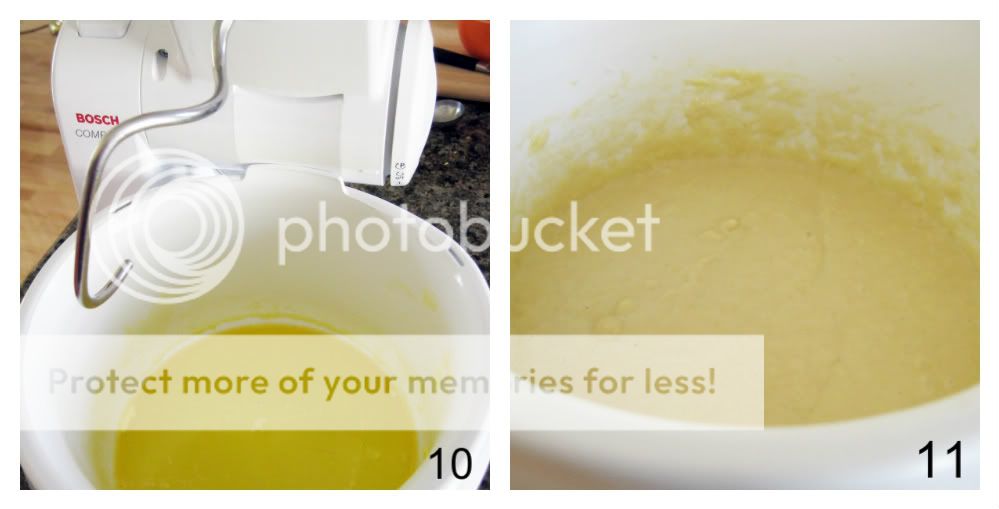
10.) and add it to the Shortening mixture (#3)
11). Beat (mix) until smooth.

12.) Stir in enough remaining flour,
13.) to form a soft dough.

 14.) Turn onto floured surface and kneed until smooth and elastic for about 6-8 minutes.
15.) Place in a greased bowl, turning once to grease top.

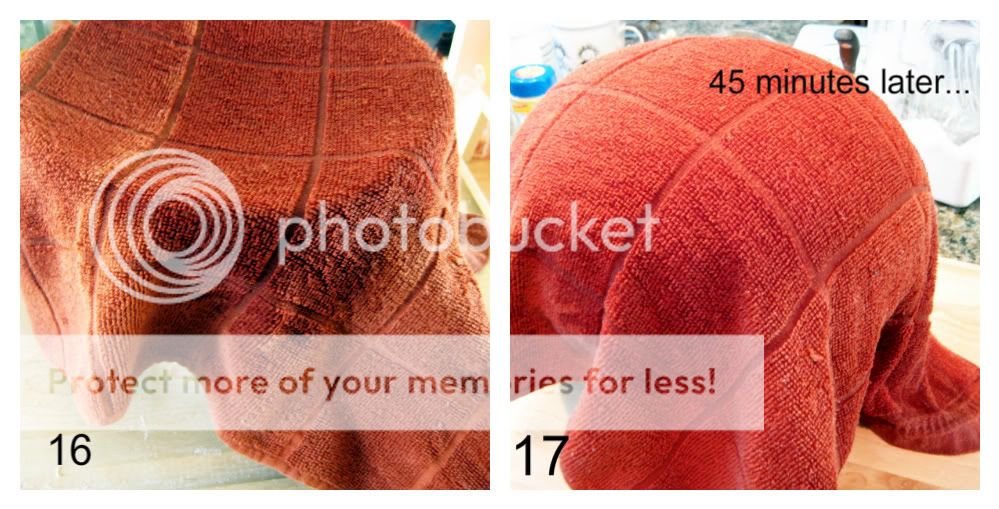
16.) Cover and let dry in warm place (I wet the towel with hot water),
17.) Dough should double in size in 45 minutes.

18.) *O*
19.) Punch dough down, turn onto lightly floured surface.


20.) Roll dough to 1/2" (inch) thickness.
21.) Cut (I'm using a pizza cutter :P) into equal sizes. For plain dinner rolls, you can fold circles in half and press edges to seal.

22.) Coat baking sheets/tray with cooking spray.
23.) Place your dough (bears) 2 inches apart.

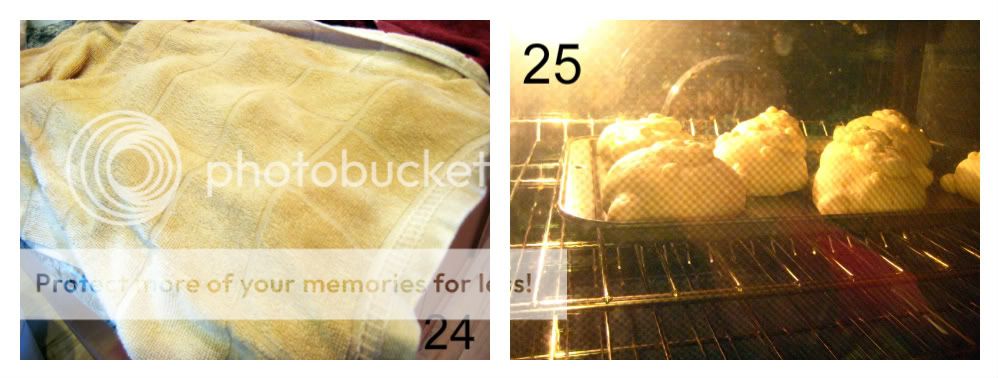
24.) Cover and let rise until doubled (30 minutes).
25.) Bake at 400°F for 10-12 minutes or until golden brown.
26.) Brush with butter (I just rubbed a butter stick on them :P)
27.) Delicious!

"YOU'RE SO CUTE, I COULD EAT YOU UP!"


These freeze very well after baking so I usually like to make a big batch and fill the freezer up with a whole bunch of these cute dinner rolls. Just pull them out of the freezer to thaw whenever you are ready to eat some!!! :3

Since Halloween is coming up, maybe you can try making them into spookier shapes. :P

Monday, August 1, 2011

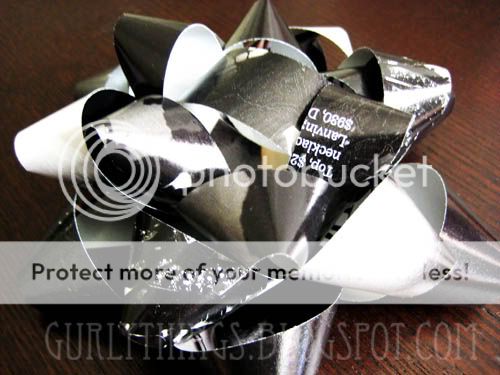
Crafts: DIY Bow for Gifts/Presents/Wrapping Using Magazine Paper

Whenever I want to relax and calm my mind from stress, I turn to crafting. Lately, we have been celebrating quite a few birthday parties this summer and sometimes we run out of bows whenever we wrap gifts. I'm so glad I learned how to make my own from Jessica Jone's blog, How About Orange (her tutorial: here).
They're so addicting!

I think that the magazine paper really adds a unique touch.

Maybe I will experiment using other types of paper as well. :3


What do you think?
Would you mind if your gifts were decorated with bows made out of magazine paper? :p

Sunday, February 13, 2011

Valentine's Nails using my $0.67 Nail Polish

Here is my simple nail art design I have on my nails at the moment; ready for valentine's day! :)

I got the Wet n Wild nail color at Target's clearance sale for 67 cents! O_o
(Wild Shine) in "Burgundy Frost"
I wanted to have a more subtle look on my nails so I erased it all off and painted my tips instead:

1. I started off by applying my base coat.

I used "Base Coat Top Coat PRO" by Rimmel (I love how it is able to be used as both).

So fancy. I like the little crown design on the polish cap.
Nice wide brush helps me coat my whole nail in one swipe!
2. I prepared some nail guide stickers:
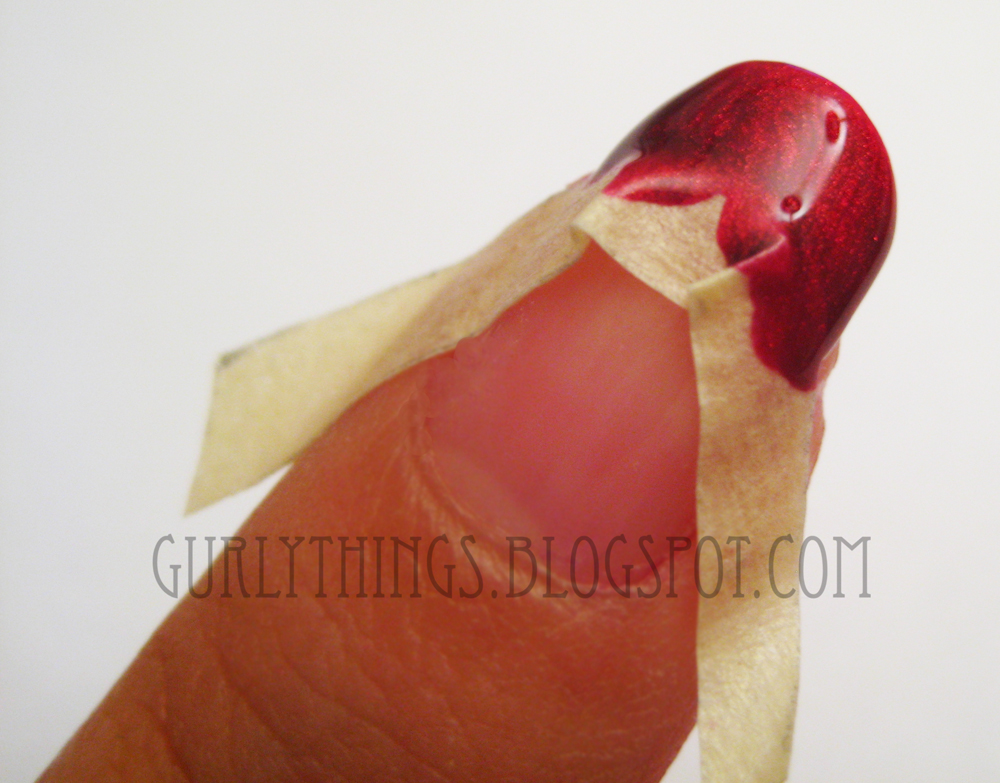
I used some masking tape to help me with painting my nail tips.

Makes my life easier.

 3. Slap some nail polish of your choice (in my case, its red) on there:

4. Rip off your DIY nail sticker guide off slowly and carefully while it is still wet.
One done, 9 more to go!

5. Add heart design:
Start by adding two dots.
Then drag it down one dot at a time.
And you have a heart! :)
Seal with Top Coat (I used the same Rimmel one again) and you're done! :)
Hope you all have a wonderful Valentine's Day!!! :)

Also, if you haven't yet, you can still enter for a chance to win a $25 Apothica Giftcard! :)
Giveaway ends on Feb. 14th.

Saturday, December 11, 2010

How to Make Your Own Christmas Ornaments

Hi! :)

After my last final I was up until 6:00am making Christmas ornaments. =__= These are the same ornaments I was talking about in my previous post.
I thought it would be nice to show you how I made them if you wanted to make your own. :)


You will need/What I used:
Crayola Air Dry Clay 2.5 Lb Bucket, White
Crayola Air Dry Clay or any type of clay you like. :) I just used this because I had to make a lot of ornaments and this was cheap. I usually prefer to work with Polymer clay though. :)


Kaiser Bakeware Heart Cookie Cutter, Set of 6
Cookie cutters or any tool that you would like to shape your clay with.


12 Assorted Christmas Wire Edge Ribbon Rolls 2.5"
Holiday ribbon or anything you want to decorate your ornaments with (paint, glitter, bells, etc.)
110V Mini Hot Glue Gun Sticks Art Craft Hobby Adhesive 
 Craft Hot Glue Gun to attach your decorations and ribbons onto the ornaments.


How to Make:
Prepare clay, ready for molding and cutting! :)
I used two sizes of heart-shaped cookie cutters; bigger one to cut overall shape and the smaller one to make a hole inside the heart.
I painted it with acrylic paint (Antique Gold) and sealed it with a clear glaze/varnish( Sculpey Gloss Glaze).
I wanted to make the ornament look more sparkly so I got some holiday ribbon. :)
I like to use a hot glue gun to add details because it dries very fast and holds very well. :)
Almost done wrapping and gluing it all around the edge of the heart ornament! :)
What's an ornament without bells right? :p
I took a piece of string and strung both the bell and ornament and its ready to hang on your beautifully lighted Christmas tree! :)
I also made some in white and red. :)
And some that looks like cookies :) I used Red Polymer Clay to make the little berries and White Caulk to make the fake whipped cream. :)
Everybody's in the Christmas spirit around me and so I'm sorry if you don't celebrate it but you can always use it for a different purpose if you like. :) 
How are your holidays going so far? :) I hear that a lot of things are sold out? No parking?