Blogger Buddies

Showing posts with label Tutorial. Show all posts

Tuesday, July 10, 2012

DIY: Customize Your Shirt Using T-shirt Transfers

I got some plain shirts the other day and I wanted to customize them a bit.
I didn't have much time so I opted for a simple design on the back of our shirts: Wings!

Scissors, Jolee's Easy Image Iron-On Transfer Paper , Iron, Shirts

How to transfer printed image onto shirt:


What do you think?
Do you have any creative shirts you designed? Please share! :3 I'd love to see!

Monday, October 31, 2011

Last Minute Halloween "Costume": Kitty Cat Ears Tutorial

My mom is not the type to dress in costumes but she needed one so I thought she'd make a great "kitty"! :P

Here is quick picture tutorial on how to make cat/kitty ears (easy last minute costume idea):

1. Cut two rounded triangles (I chose dark brown colored felt):

2. Cut out two smaller triangles of a different color (I chose pink)- this will represent the inner part of the ear;
Sew or glue the two pieces together:
3. Fold the triangles so that it has a bit of a shape to it and glue/sew in place:
4. Attach your "ears"  to a Pin/clip or headband:


YOU'RE DONE! :3
Enjoy your kitties ears!!!

Cat ears pinned:

Cat ears on headband:


Sunday, October 30, 2011

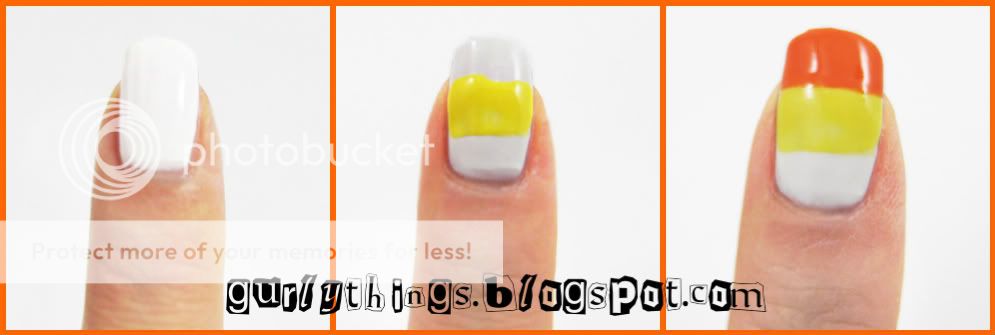
Halloween Theme Candy Corn Nail Art

The month of October is always fun!
I love seeing such fun and spooky Halloween decorations whenever I'm out and about. People can be so creative when it comes to decorating!

This month has been quite hectic for me but I still wanted to get into the spirit of joining in on the fun so I painted my nails to suit the Halloween theme: Candy Corn nail art!


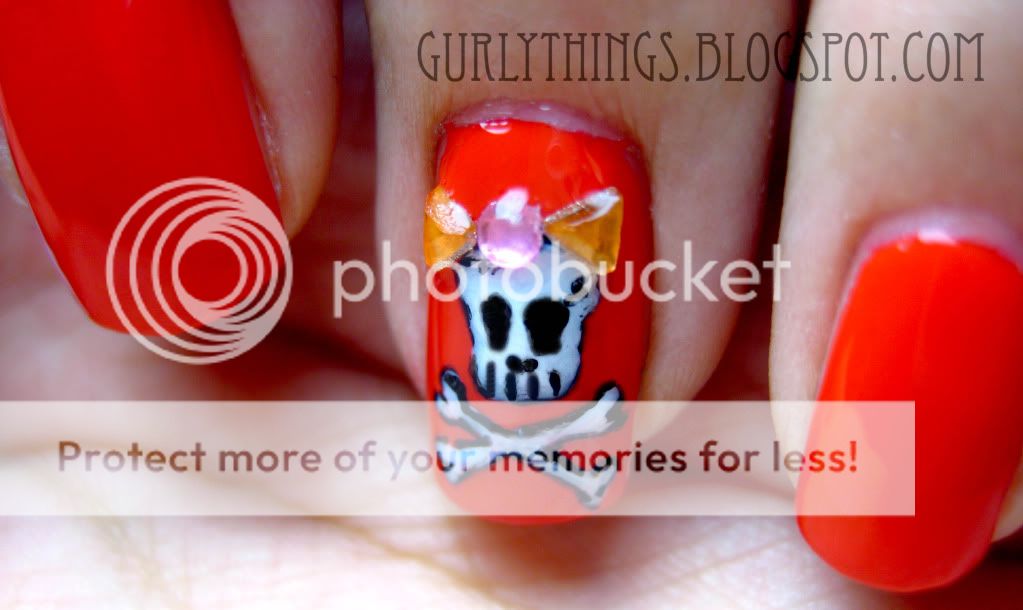
Older nail art designs I've done in the past that might be appropriate for Halloween:

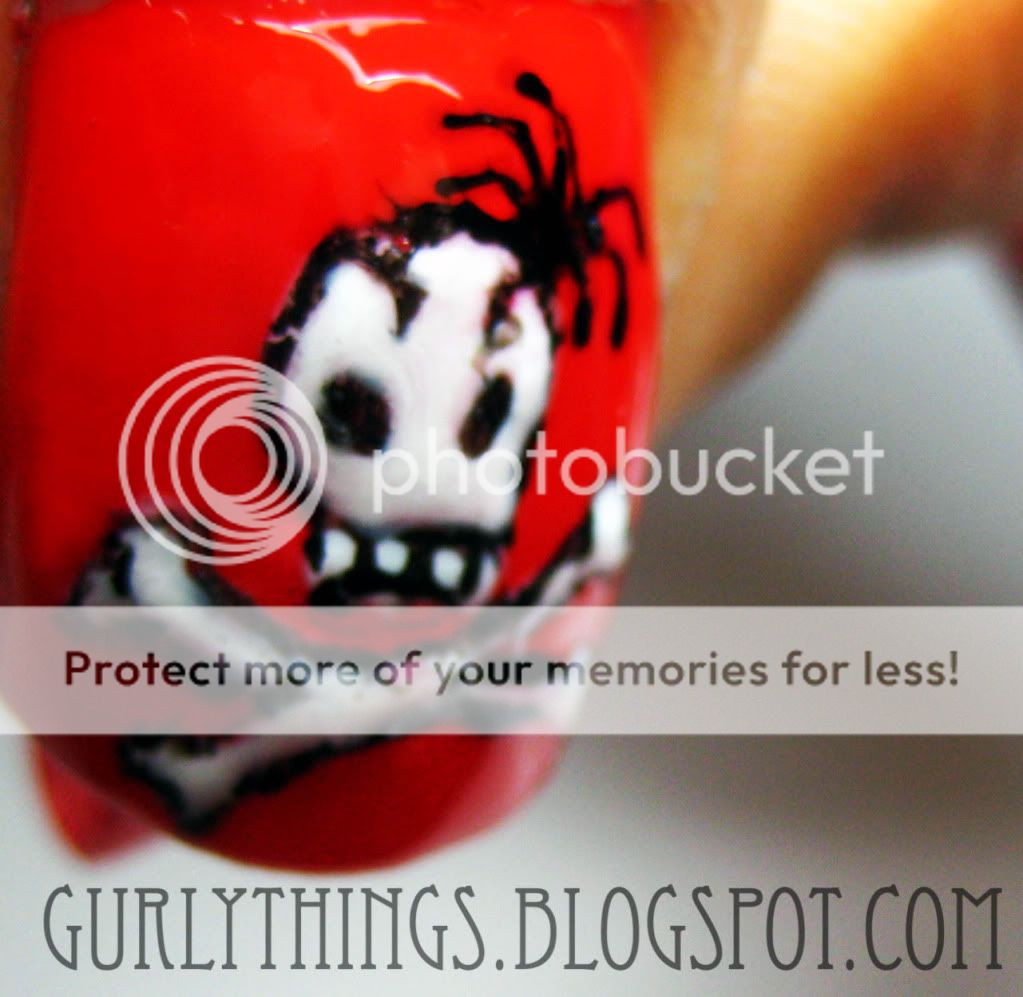
Skull Nail Art (Tutorial HERE):


Pumpkin nail art (post HERE):


I know I'm a little early but...

HAPPY HALLOWEEN (for those who celebrate)!

Monday, August 1, 2011

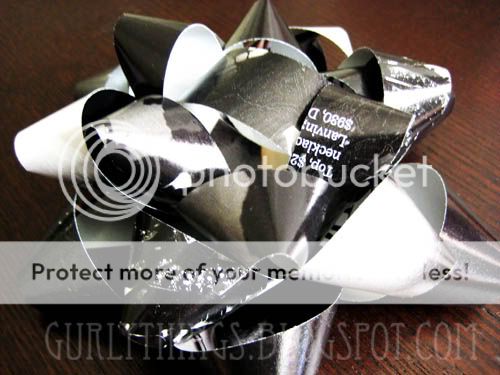
Crafts: DIY Bow for Gifts/Presents/Wrapping Using Magazine Paper

Whenever I want to relax and calm my mind from stress, I turn to crafting. Lately, we have been celebrating quite a few birthday parties this summer and sometimes we run out of bows whenever we wrap gifts. I'm so glad I learned how to make my own from Jessica Jone's blog, How About Orange (her tutorial: here).
They're so addicting!

I think that the magazine paper really adds a unique touch.

Maybe I will experiment using other types of paper as well. :3


What do you think?
Would you mind if your gifts were decorated with bows made out of magazine paper? :p

Sunday, February 13, 2011

Valentine's Nails using my $0.67 Nail Polish

Here is my simple nail art design I have on my nails at the moment; ready for valentine's day! :)

I got the Wet n Wild nail color at Target's clearance sale for 67 cents! O_o
(Wild Shine) in "Burgundy Frost"
I wanted to have a more subtle look on my nails so I erased it all off and painted my tips instead:

1. I started off by applying my base coat.

I used "Base Coat Top Coat PRO" by Rimmel (I love how it is able to be used as both).

So fancy. I like the little crown design on the polish cap.
Nice wide brush helps me coat my whole nail in one swipe!
2. I prepared some nail guide stickers:
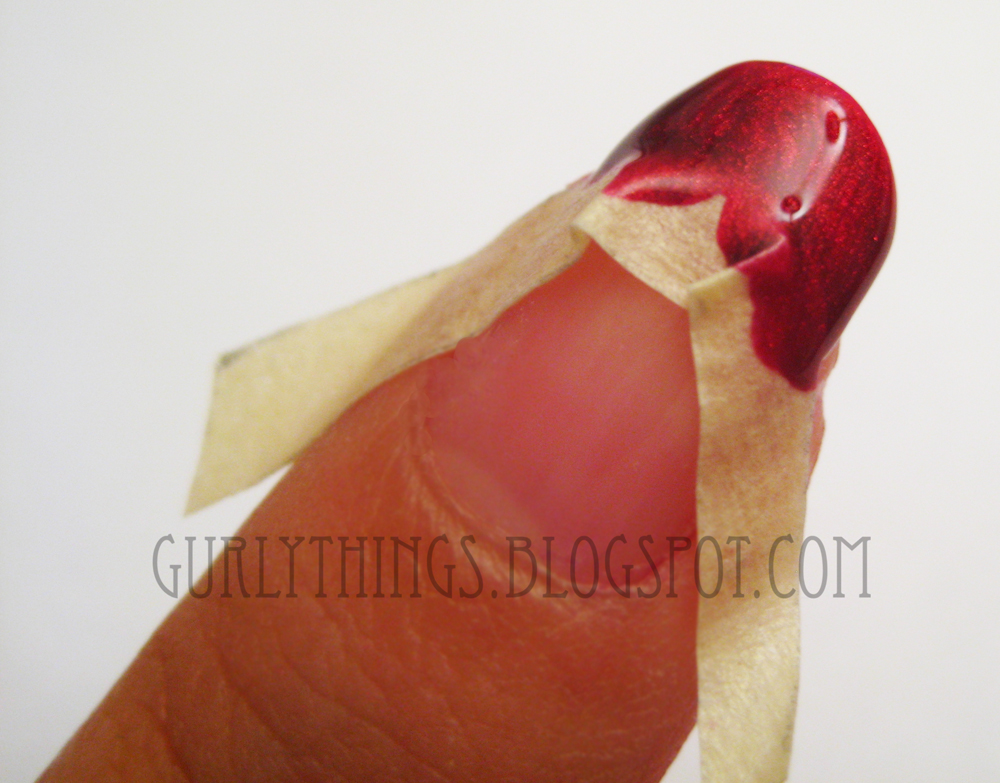
I used some masking tape to help me with painting my nail tips.

Makes my life easier.

 3. Slap some nail polish of your choice (in my case, its red) on there:

4. Rip off your DIY nail sticker guide off slowly and carefully while it is still wet.
One done, 9 more to go!

5. Add heart design:
Start by adding two dots.
Then drag it down one dot at a time.
And you have a heart! :)
Seal with Top Coat (I used the same Rimmel one again) and you're done! :)
Hope you all have a wonderful Valentine's Day!!! :)

Also, if you haven't yet, you can still enter for a chance to win a $25 Apothica Giftcard! :)
Giveaway ends on Feb. 14th.

Friday, December 24, 2010

Christmas Cake Pops

Usually, when I spend Christmas with my bf and his family, its tradition to always make and eat a whole bunch of tamales :P On the news tonight, I heard that more than 50,000 tamales were being sold during the holiday season. O_o
This Christmas, I'm spending it with my family and family friends :) And they celebrate it differently.
I notice a lot of people baking. O_o
I don't know very many Christmas cookie recipes O_o But I was inspired by Bakerella's reindeer, snowman, and Christmas tree cake pops so I thought it would be a good idea to make some to share. :P
If you like to bake, you should check her site out. :) I think she's pretty good!
Her Christmas cake pops: (Click here).

I used:

1. Cake mix
Betty Crocker Supermoist Cake Mix, Golden Vanilla, 18.25-Ounce Boxes (Pack of 12)Betty Crocker Supermoist Cake Mix, Triple Chocolate Fudge, 18.4-Ounce Boxes (Pack of 12)

2. Candy Melt
Wilton White Candy MeltsWilton Light Cocoa Candy Melts 12 Oz.1LB. Merckens Dark Green Coatings


3. Assorted Sprinkles
Wilton Animals and Stars 6 Mix Sprinkle Assortment


4. Chocolate Coated Sunflower seeds (orange ones for snowman carrot nose)
 Rainbow Colored Chocolate Coated Sunflower Crunchies 2 lbs.

5. Black Colored Decorating Icing (for details like the pupils of the reindeer)
Wilton Black Icing Tube

6. Lollipop Sticks
Wilton 6 Inch Lollipop Sticks


7. m&m's (red color for reindeer noses):
 

How I made them:

I followed Bakerella's tutorial on how to prepare :)
So I baked the cake, made it into crumbs, then added enough icing to make the cake crumbs easier to shape.

Snowman:

Vanilla Cake rolled into ball-shapes (two sizes; one for the head and the other for the body)
Place two on a lollipop stick.
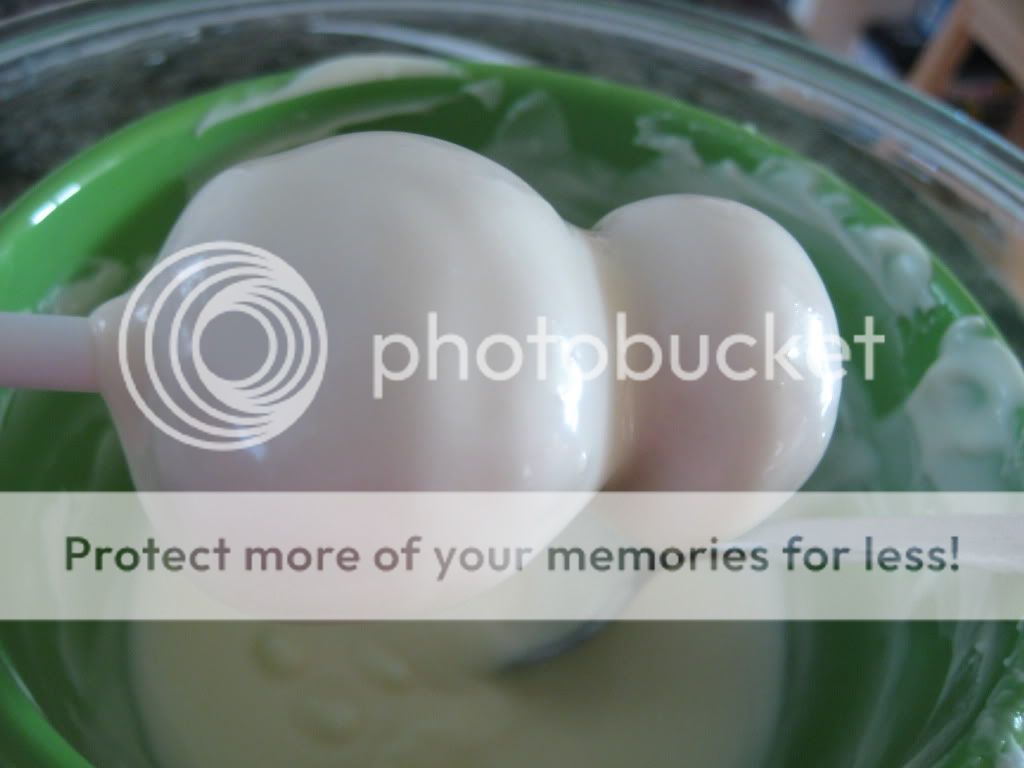
Ready to be dunked into the White Colored Candy Melt!
I placed my candy melt bowl in a bowl of hot water because it was cold and the candy melt was turning solid too fast.
All covered in yummyness! :P
Stick it in a piece of Styrofoam or cardboard to let it dry. :)
I used a chocolate coated sunflower seed for his nose and chocolate candy melt for his eyes and mouth.
Hi! (We were planning to add more decorations but we got tired. :P)
Christmas Trees:
Vanilla flavored cake shaped in upside-down cones. :)
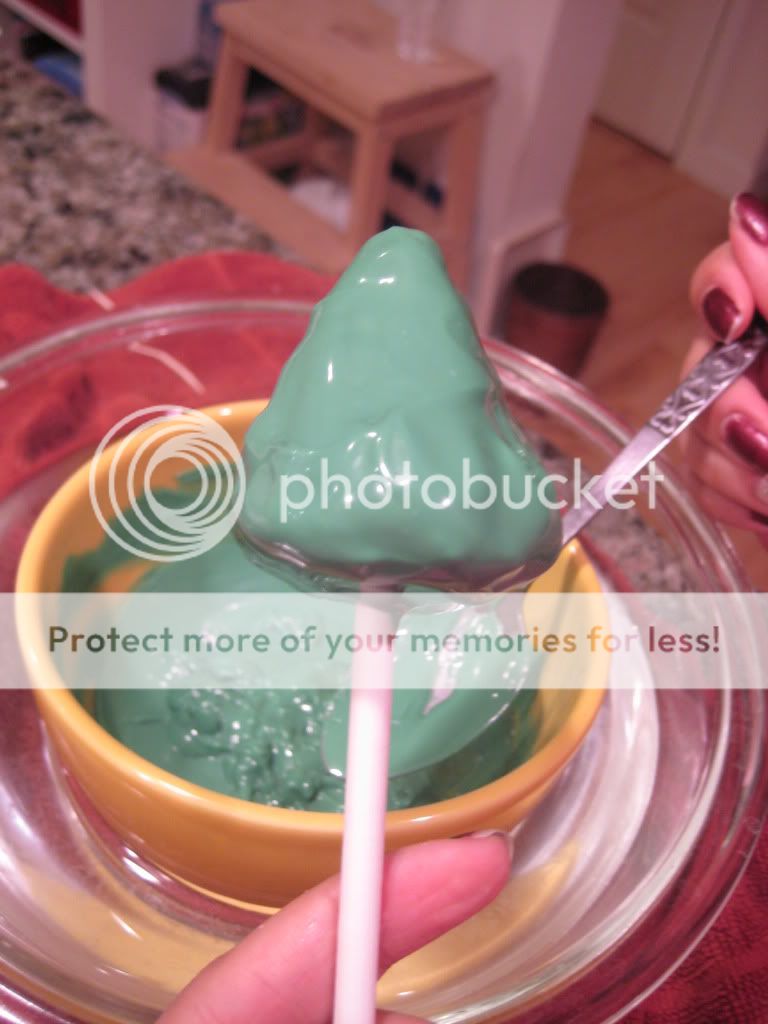
MmmmMMmmmm... Green candy melt.
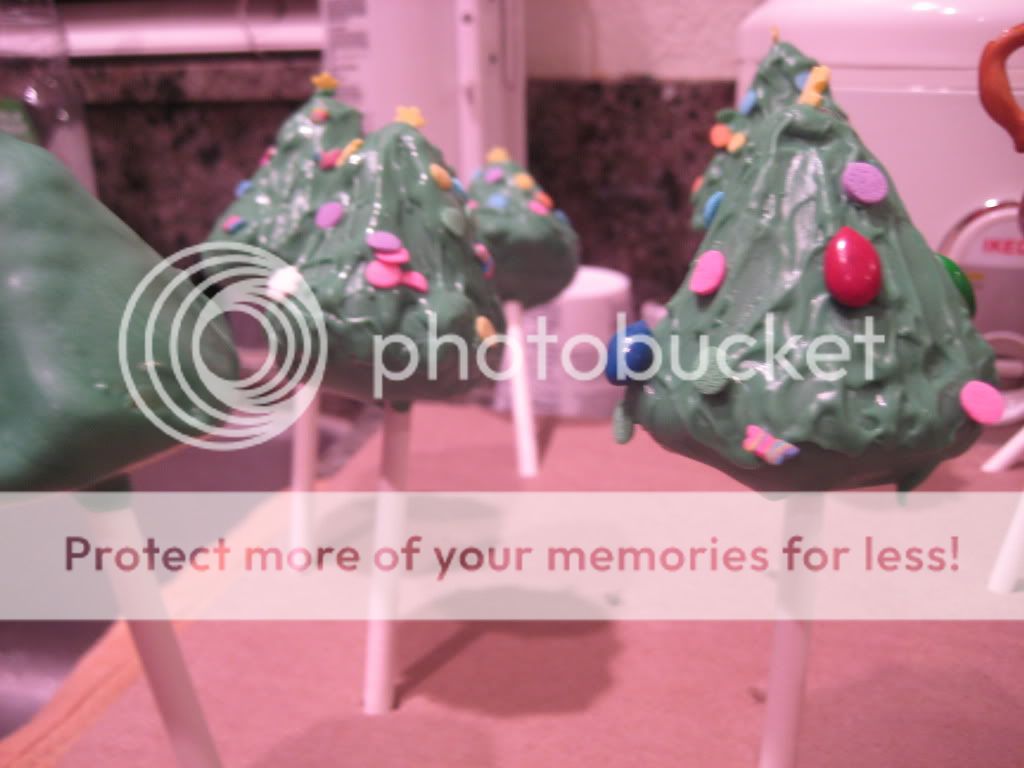
Decorate with sprinkles! :P These were the last things we made. :P Can you tell? ahha :P looks a bit sloppy. :P


Reindeer:

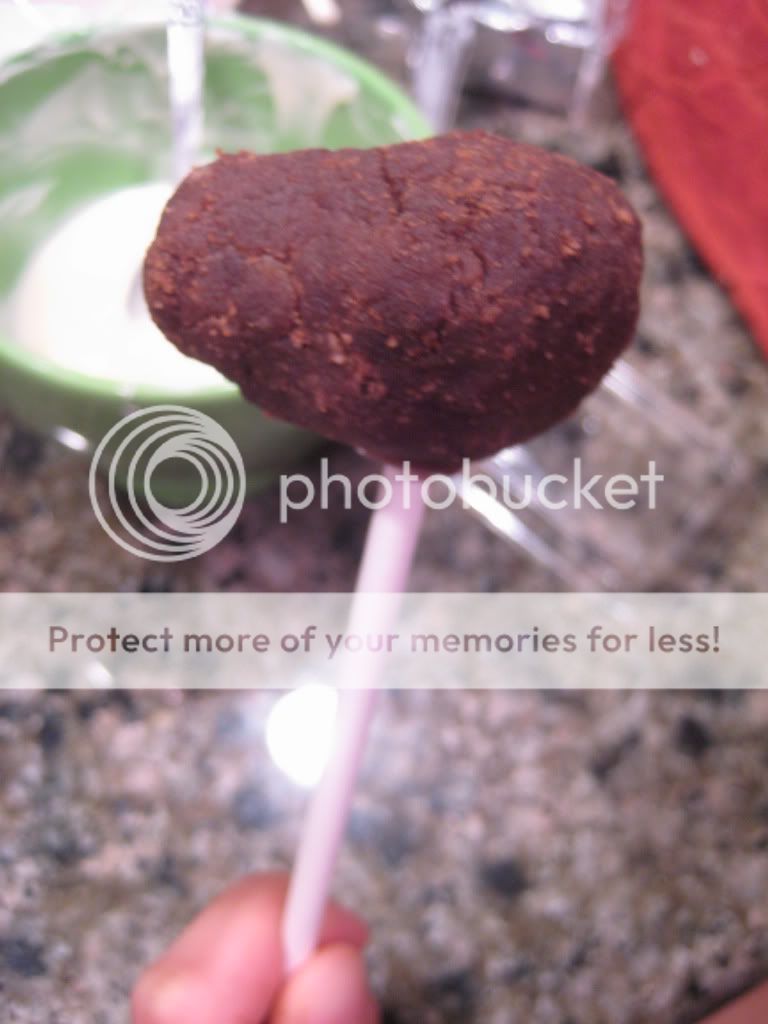
Reindeer are made out of chocolate cake... -___-; I am fully aware that this picture does not look too aesthetically pleasing. :P But I promise you the outcome will be much much cuter! :3
Stick one of these ugly things onto the lollipop stick as well. :P
Dunk it in Chocolate Candy Melt... hm.. still looks ugly... >< Even my mom was having doubts about the outcome. :P
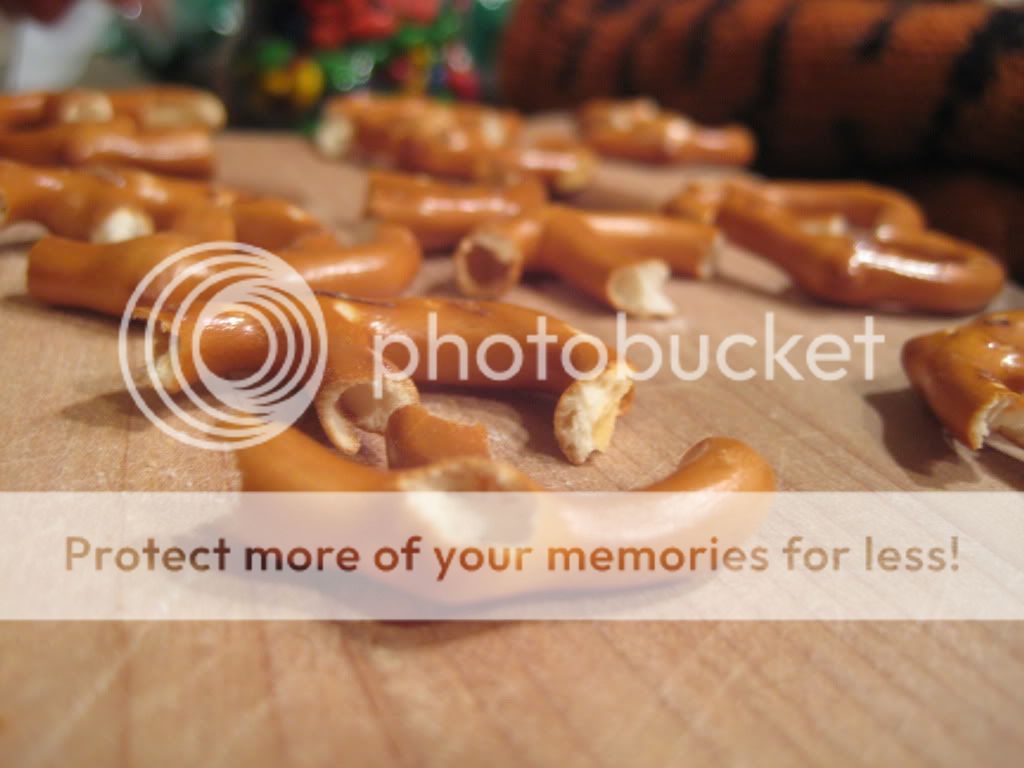
Mom helped me make some 'antlers' :P
Cutting pretzels in half looked pretty hard but I thought mom did a great job. :P
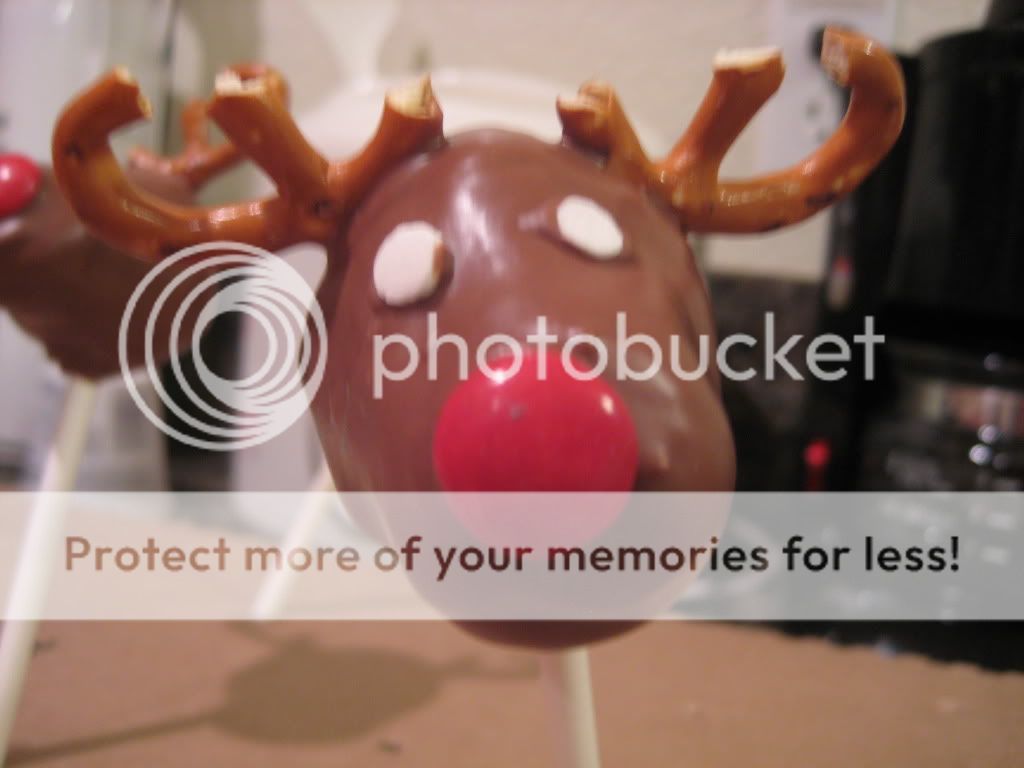
Aww... its starting to look cute now. :P I was so happy my sister helped me make these reindeer. :P She's so good! The nose is a red m&m, by the way.
LOOK OUT!!! HE'S POSESSED!!!
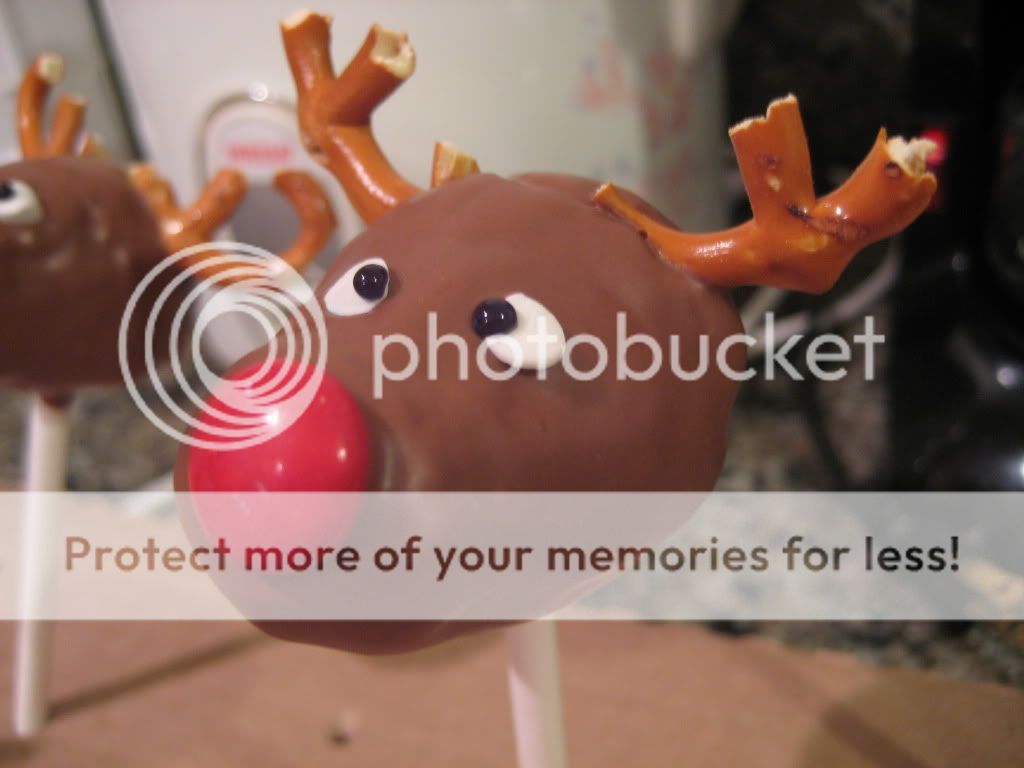
Aww... that's better. :) But why is he crossed-eyed?????
Because a snowflake fell on his nose!!! :P
Oh... this one has one on his forehead! O_O
BEHOLD!!!! An army of silly reindeer!!! :P
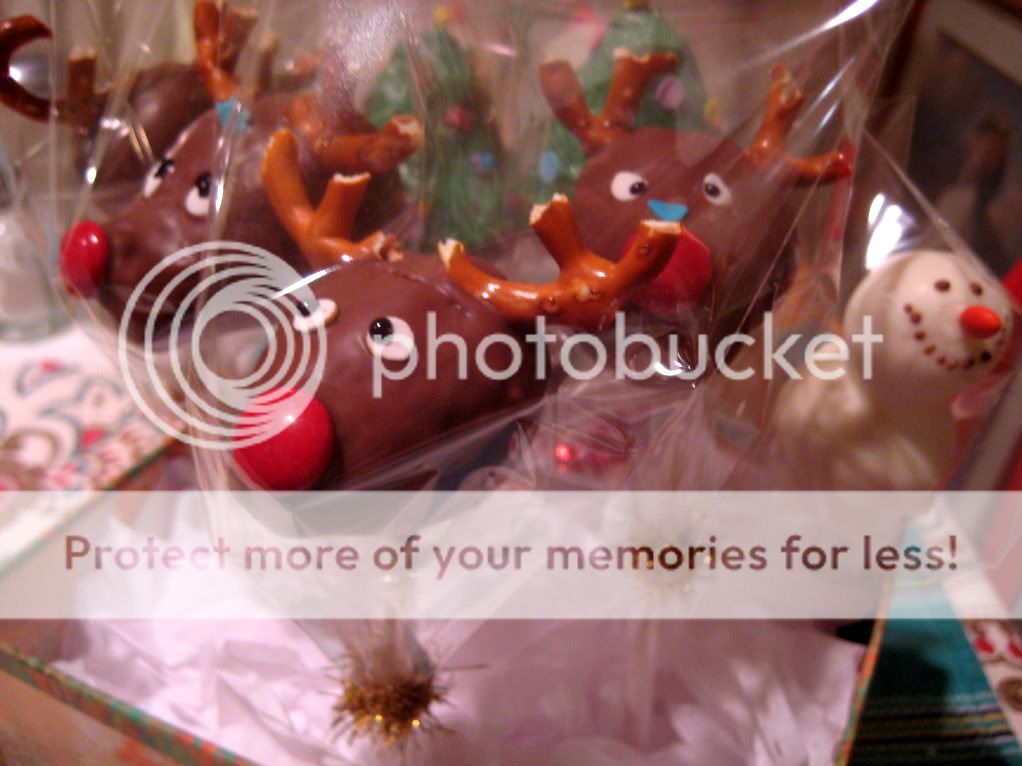
All packaged, ready to be delivered! :)

HAPPY HOLIDAYS EVERYBODY!!! :)
I hope you have a great one! :3